Get started building with Mosaic

Following receipt of an approved request to create a new Mosaic site, and discussion with you of any comments you have raised with us, we will provision a blank Mosaic site for you to use to create your website. 

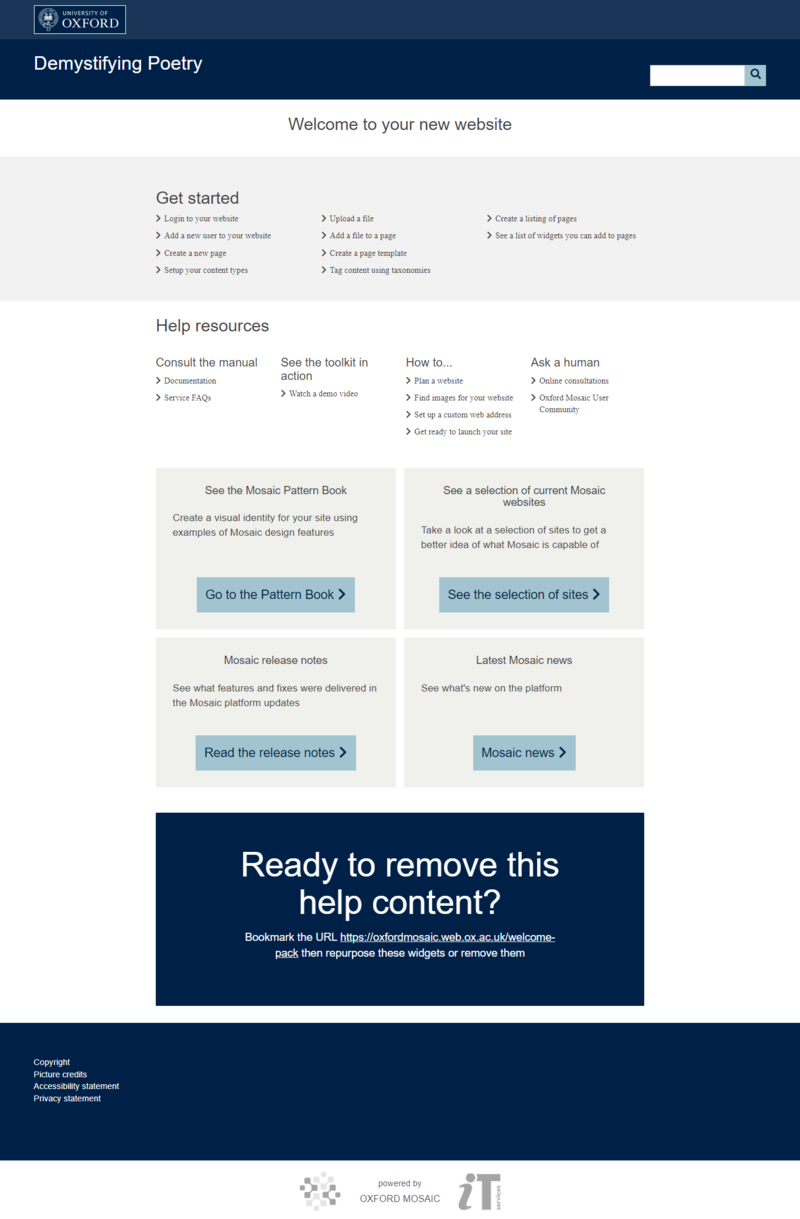
screenshot of new site welcome page

Here’s how to get started from there.  

Expand All

At the time a blank Mosaic site space is created for your new site, you will be sent an email confirming its creation and informing you that you have been given the roles of Site Owner and Site Admin on the site.

We populate the Home page with a range of resources and widgets to help you get started. You’ll see a link to log in to your website. This takes you to https://<sitename>.web.ox.ac.uk/user where you can sign in using your Oxford SSO credentials. 

Once you are ready to edit the Home page and remove the placeholder content, you might like to bookmark https://oxfordmosaic.web.ox.ac.uk/welcome-pack. We periodically add information to the welcome pack which doesn’t automatically update sites which have already been created.

Once logged in, you can add other Content Editors to your site by going to Site Settings > Users and selecting the Add button. Enter the new user’s SSO ID, select the role you wish to give them, and Save your update. You can give Site Admin rights to more than one user, but only one person (you) can be the Site Owner.

If your site will be cross-institutional, you can also Add external Users as Content Editors on your site. Note that the Site Owner of all Mosaic sites must be a member of the University of Oxford.

Oxford Mosaic has 2 settings to control the visibility of your website. These can be accessed under Site Settings > Visibility:

initial site visibility settings

On creation, new Mosaic sites are set to be invisible to search engines. This allows you to build your site without it appearing in search engine results. Once you’re happy that the site is complete and ready to go-live, you should uncheck this option.

There is also a setting to make the site visible only to Content Editors, if you prefer to restrict it further while it is not ready for public use: this setting isn’t turned on by default. If you choose to turn this on, Content Editors will need to login via https://<sitename>.web.ox.ac.uk/user before they can see any part of your site.

Oxford Mosaic gives you a wide-ranging toolkit for building your website. At an early stage of your build, you will need to consider which Content Types and Templates you want to use on your site. We provide some key principles for creating content in our article about how to future-proof your website.

By default, blank Mosaic sites are created with a default set of Content Types, based on the four base types of Article, Event, Person and Page. You can view these defaults at Site Settings > Content Types. You can also add your own types, based on the four base types, either at the start of your build or at any time. Content Editors will need to select a Content Type when they add new content to the site.

In addition, you may want to create Templates to assist your Content Editors in adding content to your site and to keep the layouts of different types of pages consistent. Note that Users who have the Author role are only able to create new content using a template, and are only able to edit content they have created. There are no default templates provided, so you will need to create some if you want to have Authors creating or editing content on your site. See the documentation for further information.

Mosaic is a flexible tool that can be used in different ways to create a variety of different types of website, so you need to consider how you want your site to look and behave when you set it up. The guidance on planning a website will help you to think about what sort of Content Types and Templates you may want to use on your site. Training on how to create effective websites using Mosaic is also available.

To create a page on your site:

  • Go to Manage Content
  • Click the 'Add new content' button
  • On the Add Content screen, either choose to create a page with your own configuration or create a page from a template

Watch a demo of the page creation process

https://player.vimeo.com/video/396472934

Create a page with your own configuration -   00:00

  • On the Add Content screen, select one of the Content Subtypes from the list
  • The edit mode for a new page within the selected Content Subtype will load
  • The page needs to be given a title (in the page's edit mode > Details tab > 'Title*' field) for it to be saved

Create a page from a template -   16:00

Websites aren't pre-populated with page templates. Templates need to be created by a Site Administrator before pages can be made from them.

 
  • On the Add Content screen, select one of the templates
  • A modal will popup for you to enter the new page's title
  • Enter a title for your page and click 'OK'
  • The edit mode of the new page will load - note that as this page is created from a template, some page regions may not be accessible and you will be restricted to using only widgets that are part of the page template